在 iOS 上安装字体
苹果早在 iOS 13 开始就开放了第三方字体的安装功能,本来打算在 iCollect+ 中增加安装字体的小工具,发现不太行,今天就来说说安装自定义字体这件小事。
API
首先,苹果在 CoreText 中提供安装字体的 API,如下,
1 | func CTFontManagerRegisterFontURLs( |
不过通过此 API 来安装字体有些限制,不是随便就可以安装的,字体文件必须包含在项目中或使用 On-Demand Receources,否则就会报下面的错误。所以参数中的 fontURLs,这里的 URL 不能是网络上的 URL,不能是 File URL。
1 | The file is not in an allowed location. It must be either in the application’s bundle or an on-demand resource. |
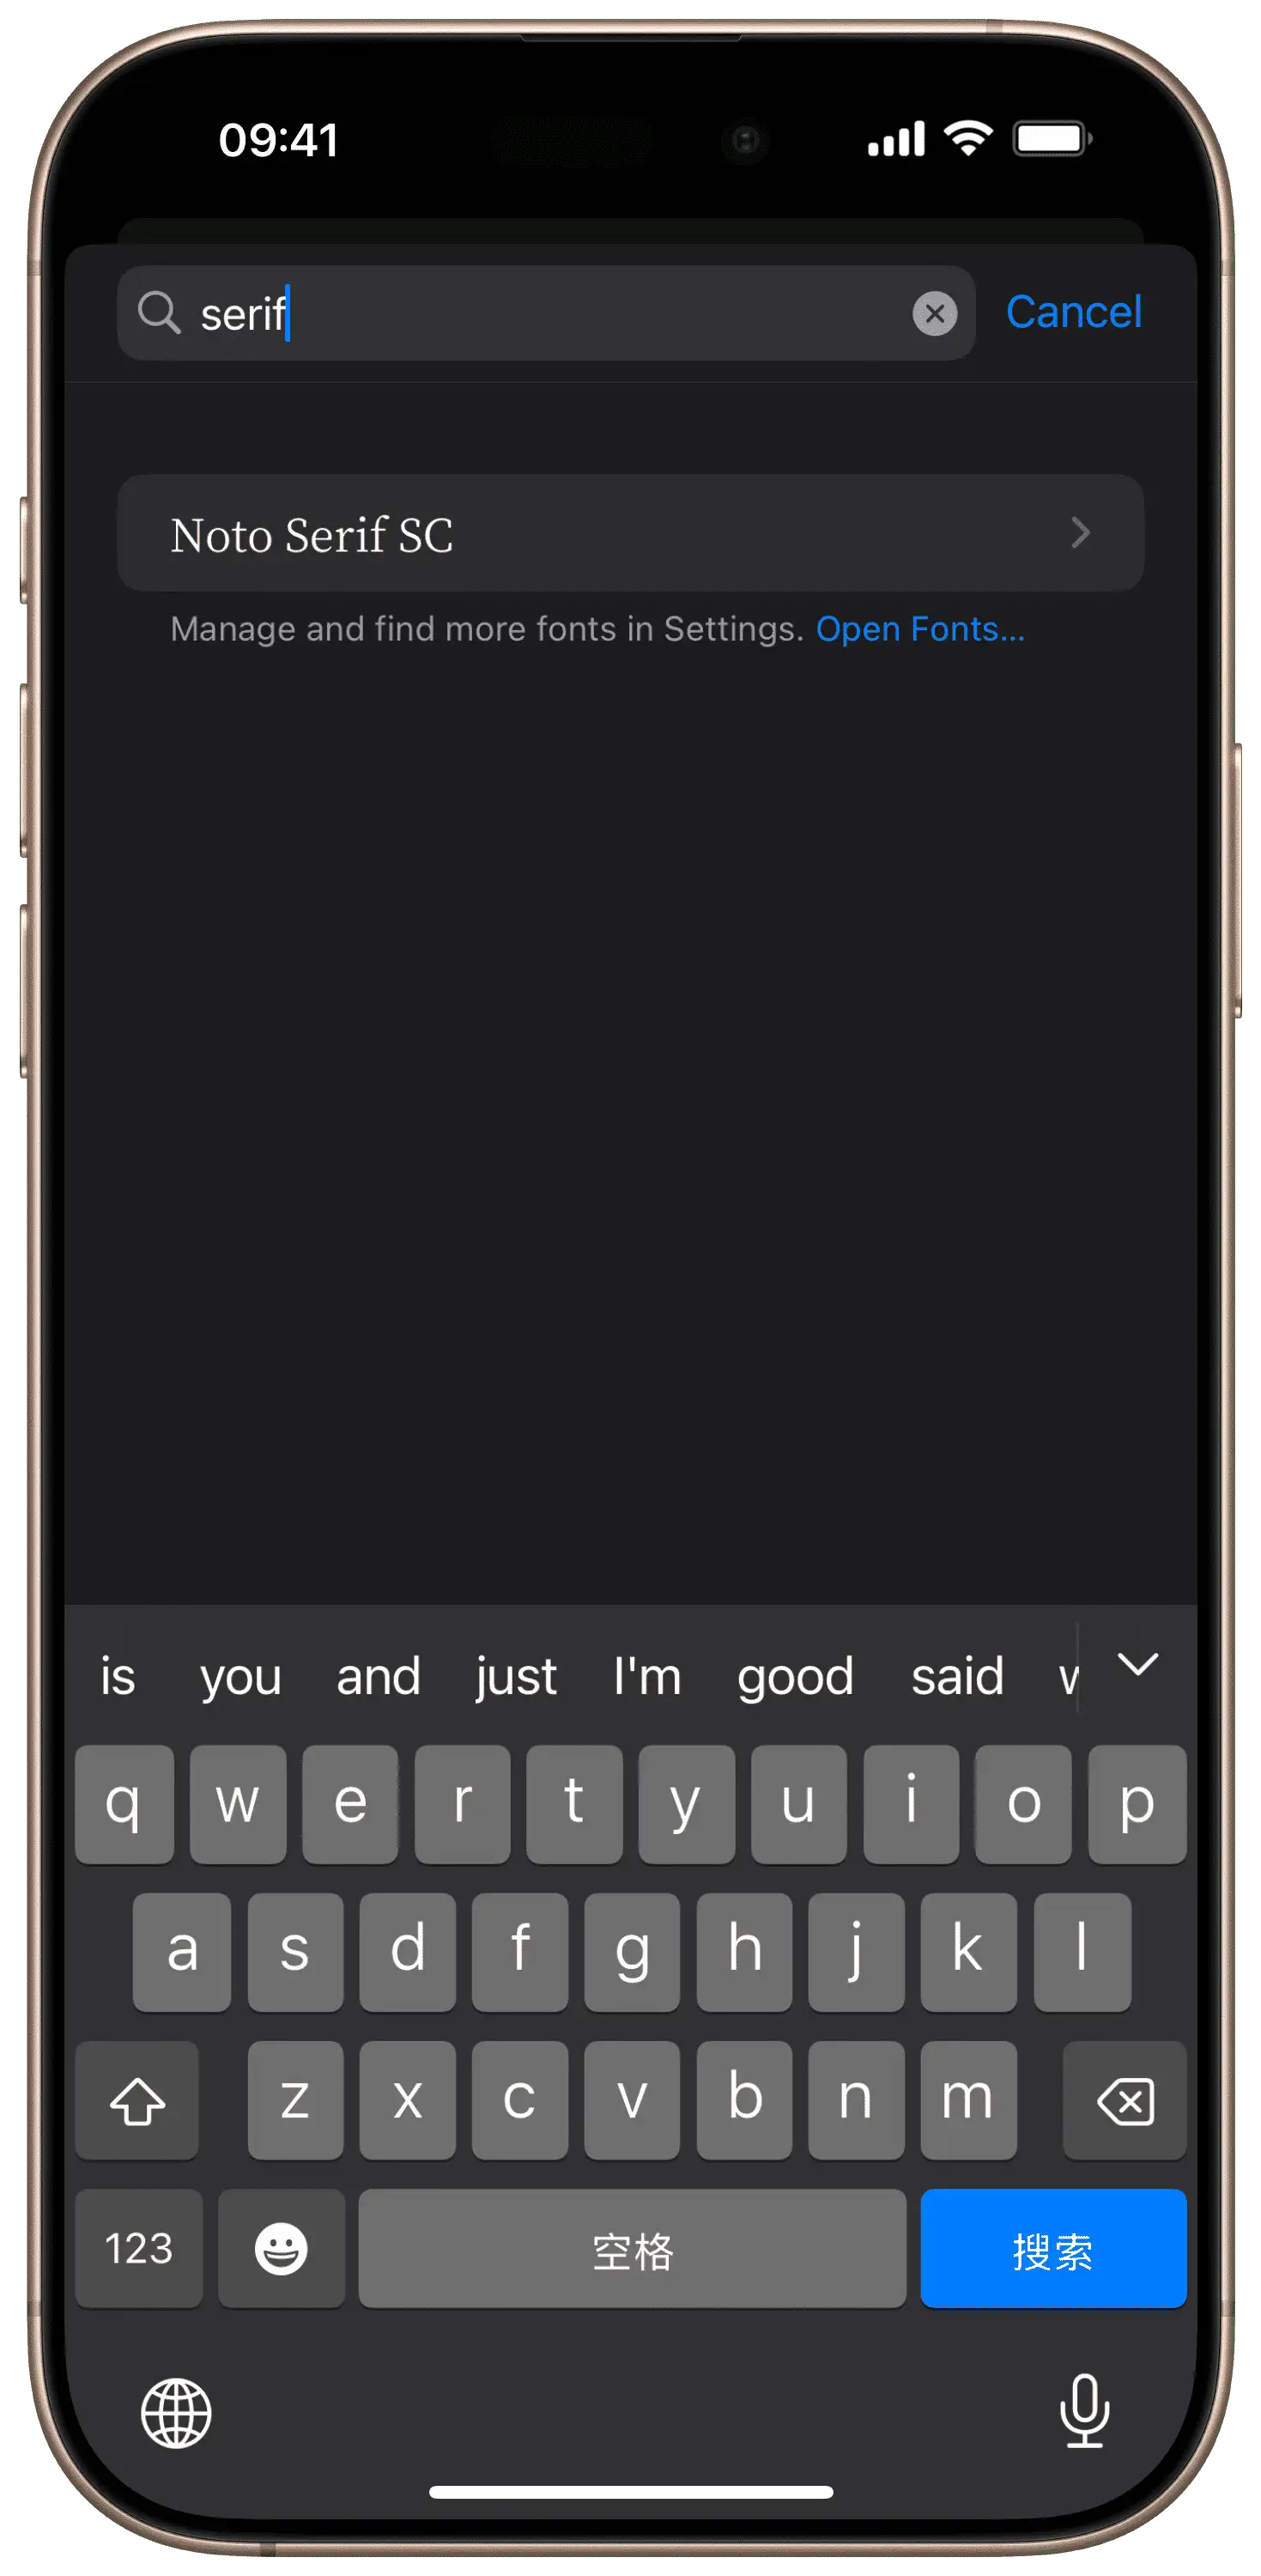
安装字体后,可以在 Settings -> General -> Fonts -> My Fonts 中查看。
Profile
另一种安装字体的方式是通过描述文件,这种方法不需要写代码,简单配置下就可以安装字体。
首先,在 Mac App Store 中下载苹果自家的 Apple Configurator 应用;然后打开,按 ⌘ + N 新建描述文件,在 General 中输入描述文件的名字,Identifier 会自动生成,其他选填或保持默认的就行。
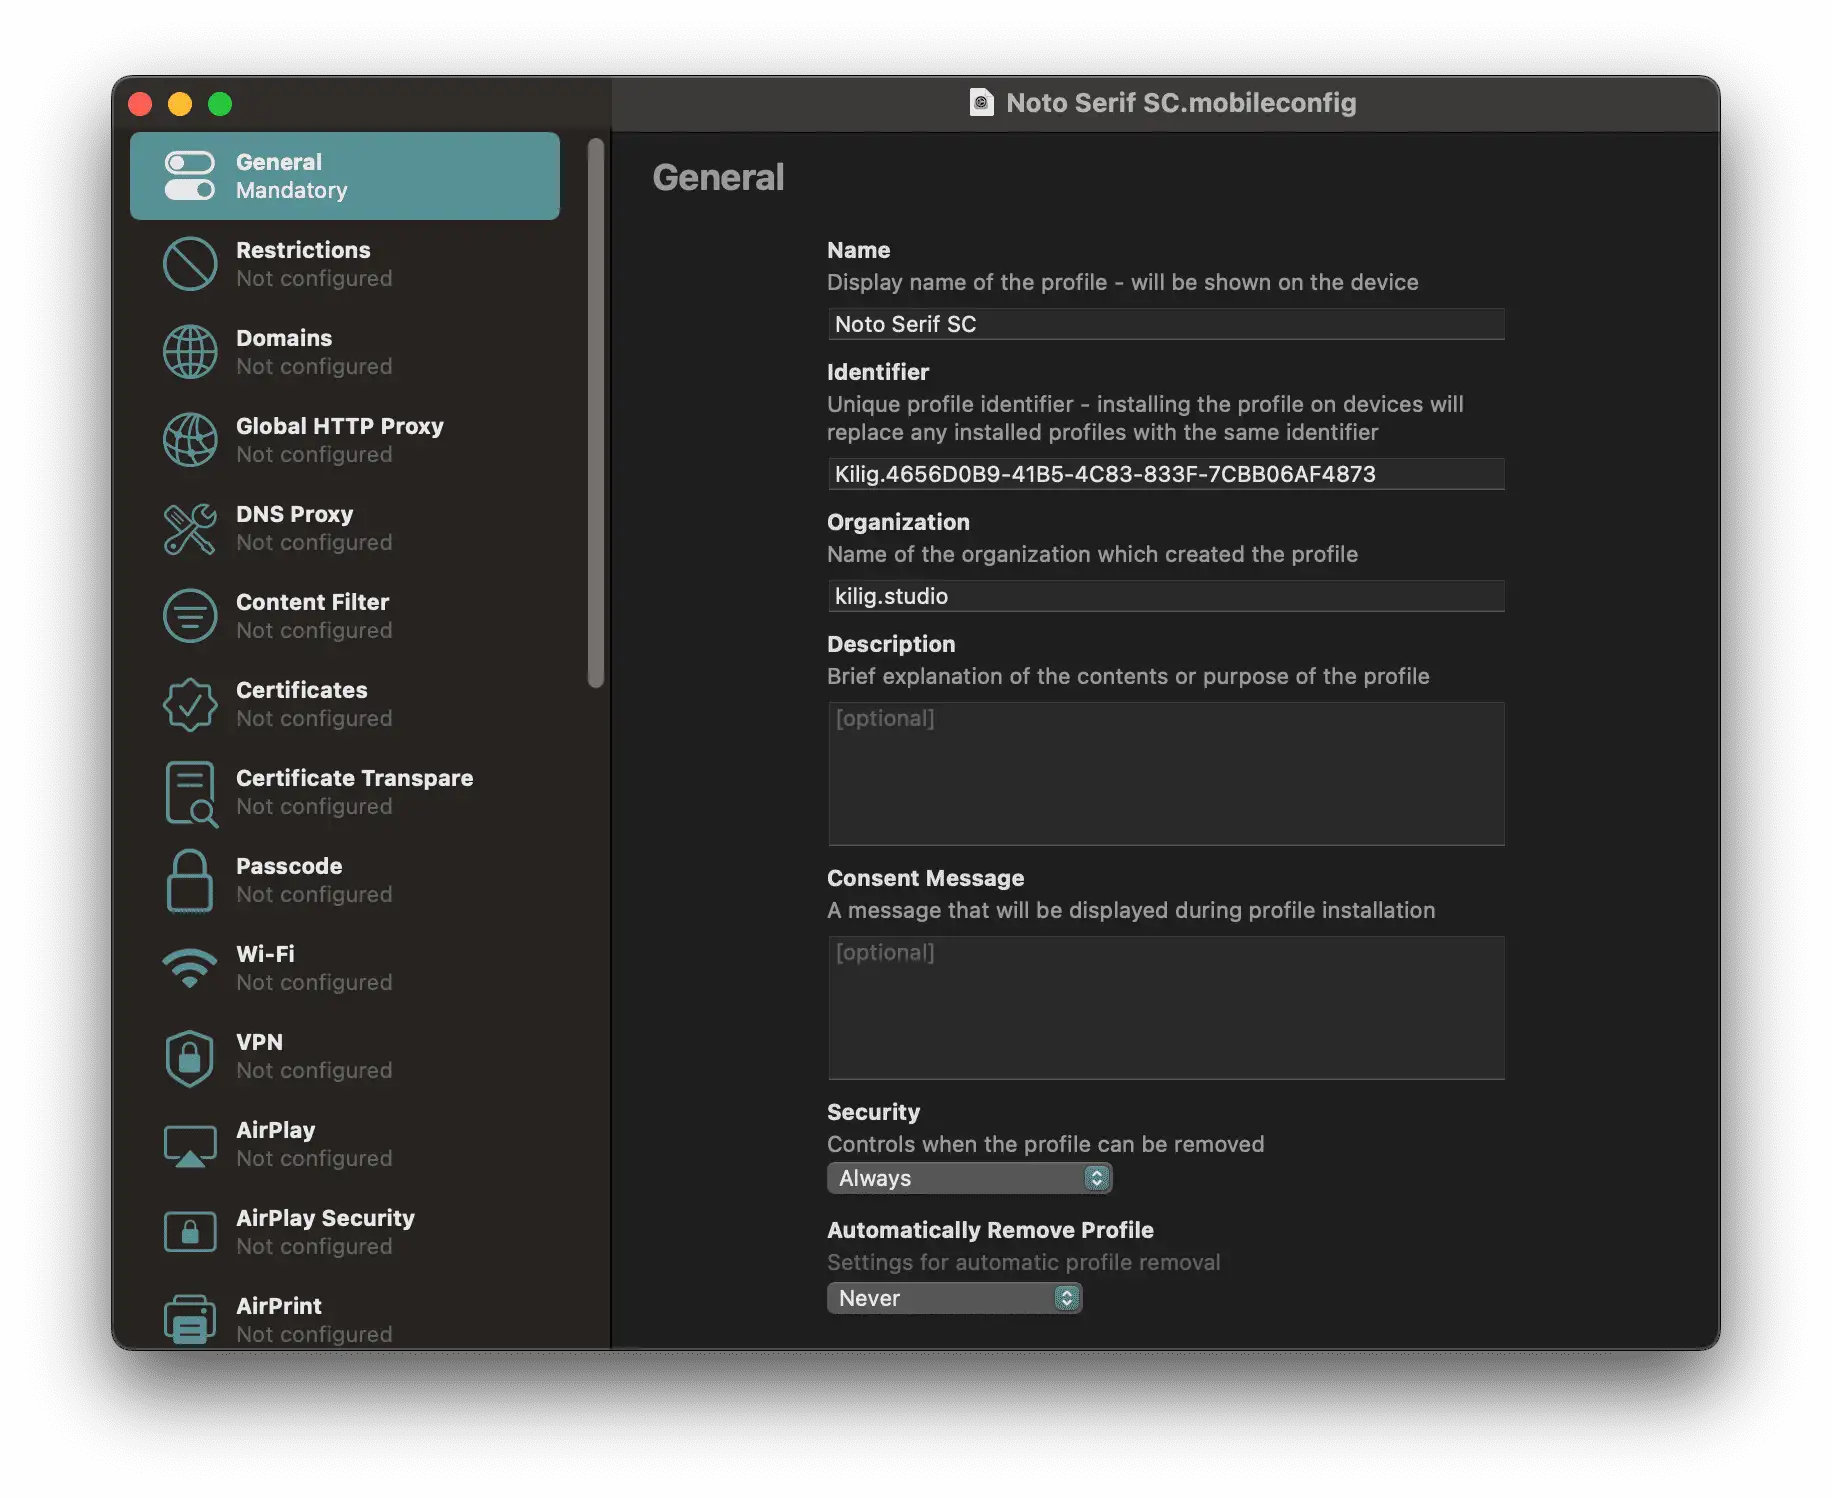
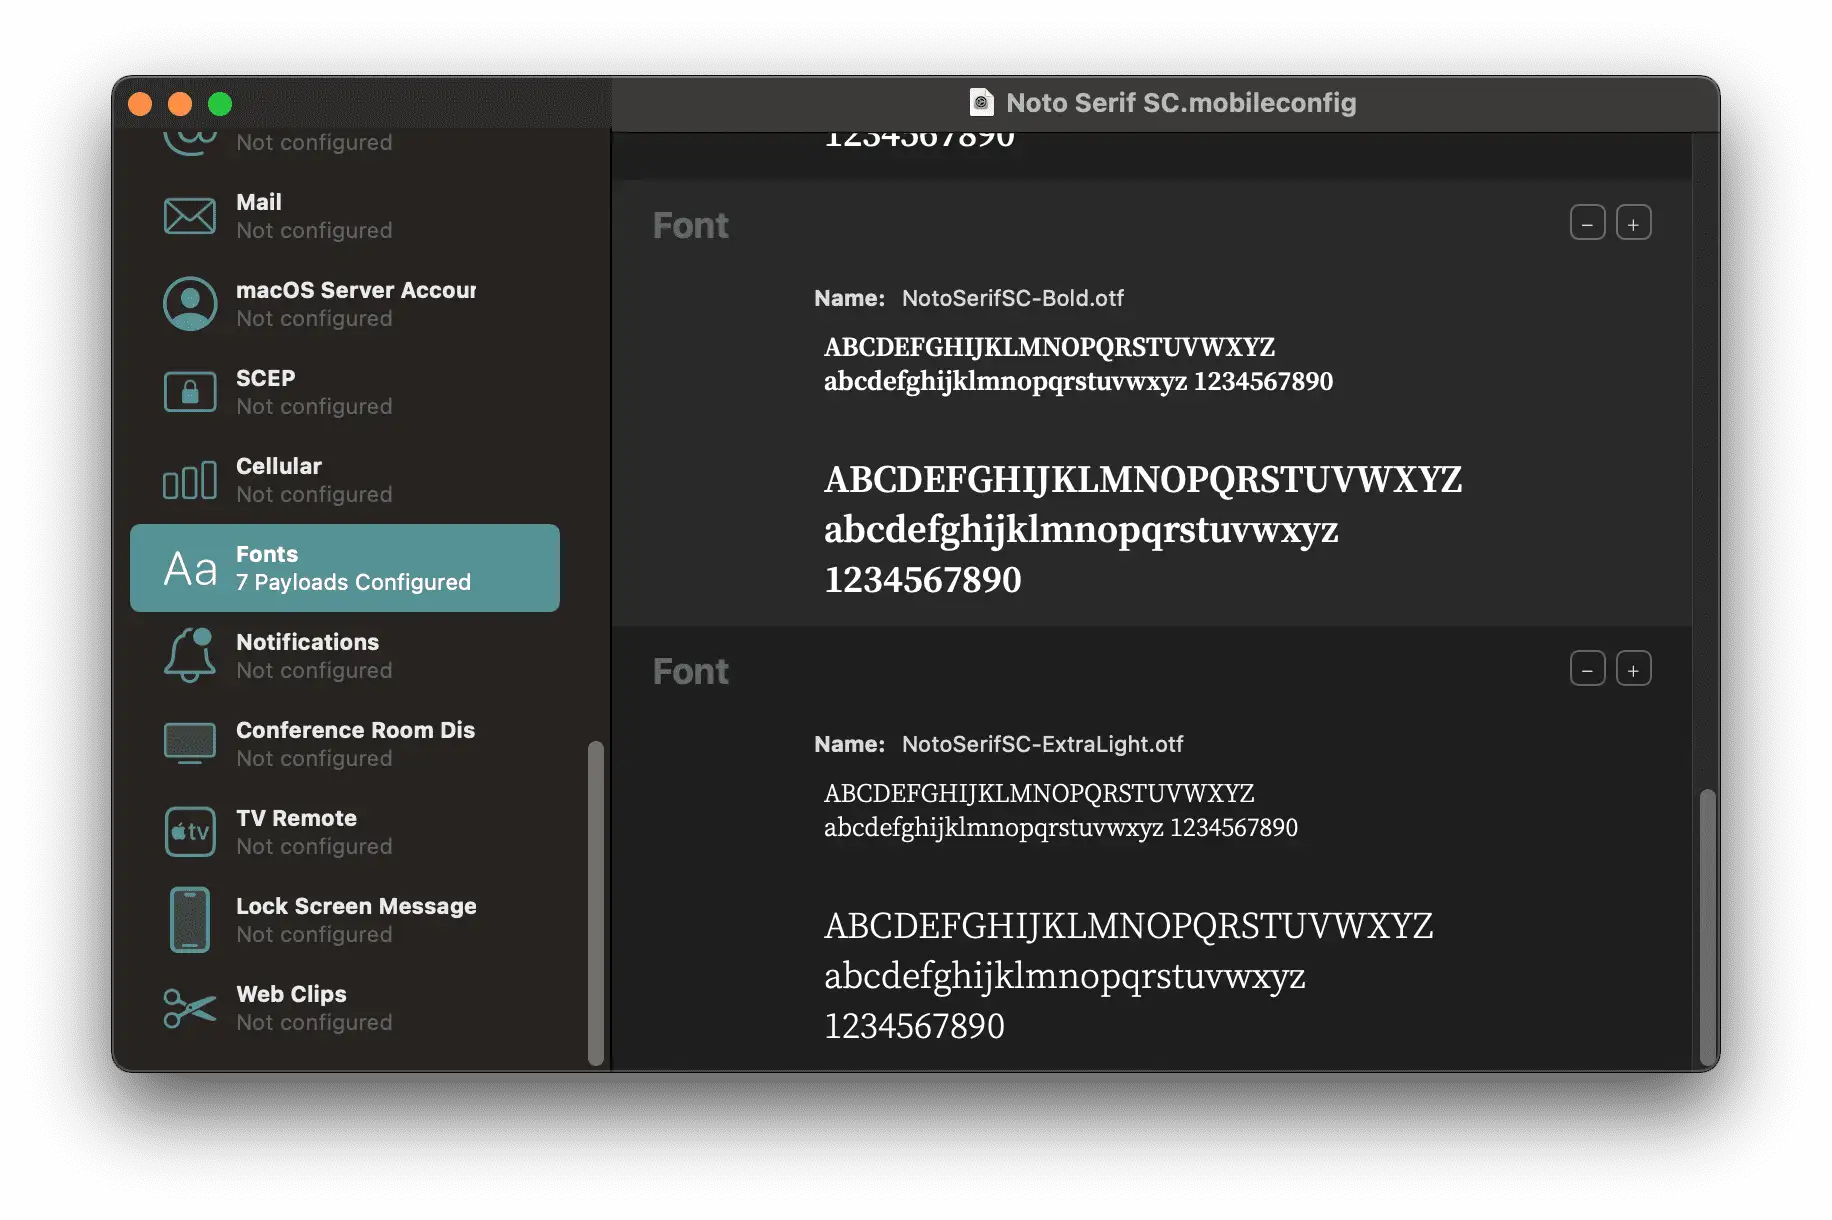
在 Fonts 选项中添加要安装的字体,然后保存,字体文件会包含在描述文件中,描述文件的拓展名为 mobileconfig,可以在描述文件上右键打开方式选 Apple Configurator,再次编辑。
接下来就是安装了,注意这里不能通过 AirDrop 隔空投送到手机上安装,也不能放在 iCloud Drive 里,在手机文件应用里点击安装,要通过网络下载的方式,比如通过文件分享工具,在 Safari 中下载次描述文件。
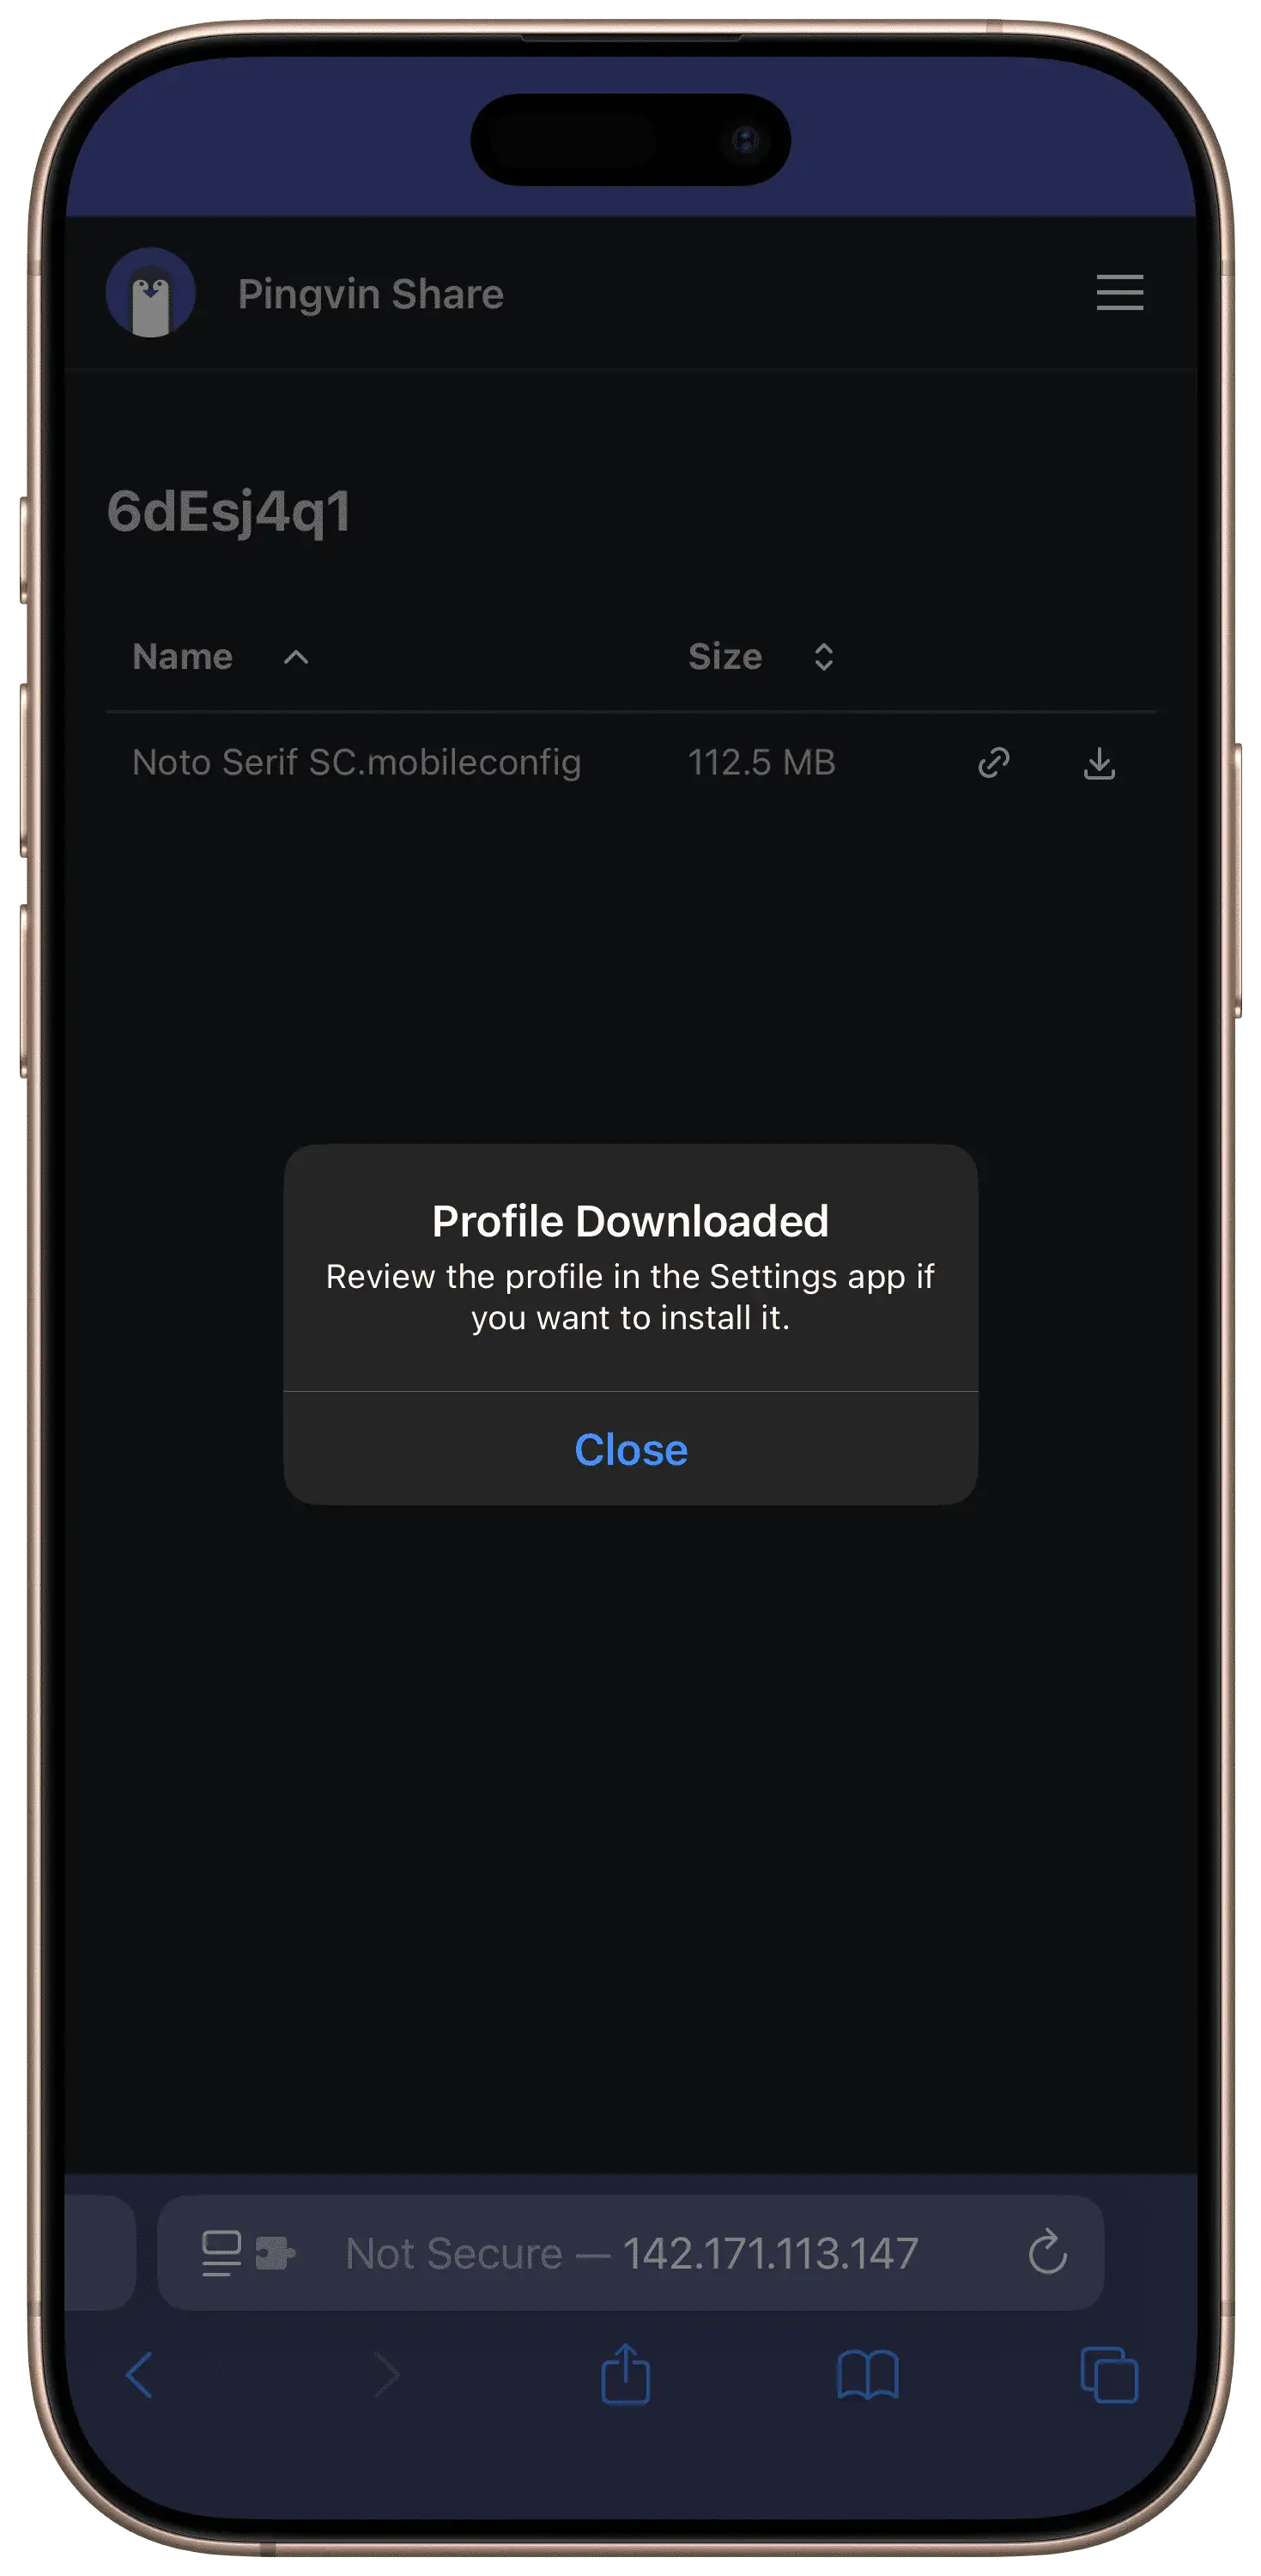
下载后,在 Settings 中就能看到此描述文件了,安装即可,注意描述文件没有签名,不过自用的话,签不签名都无所谓了。
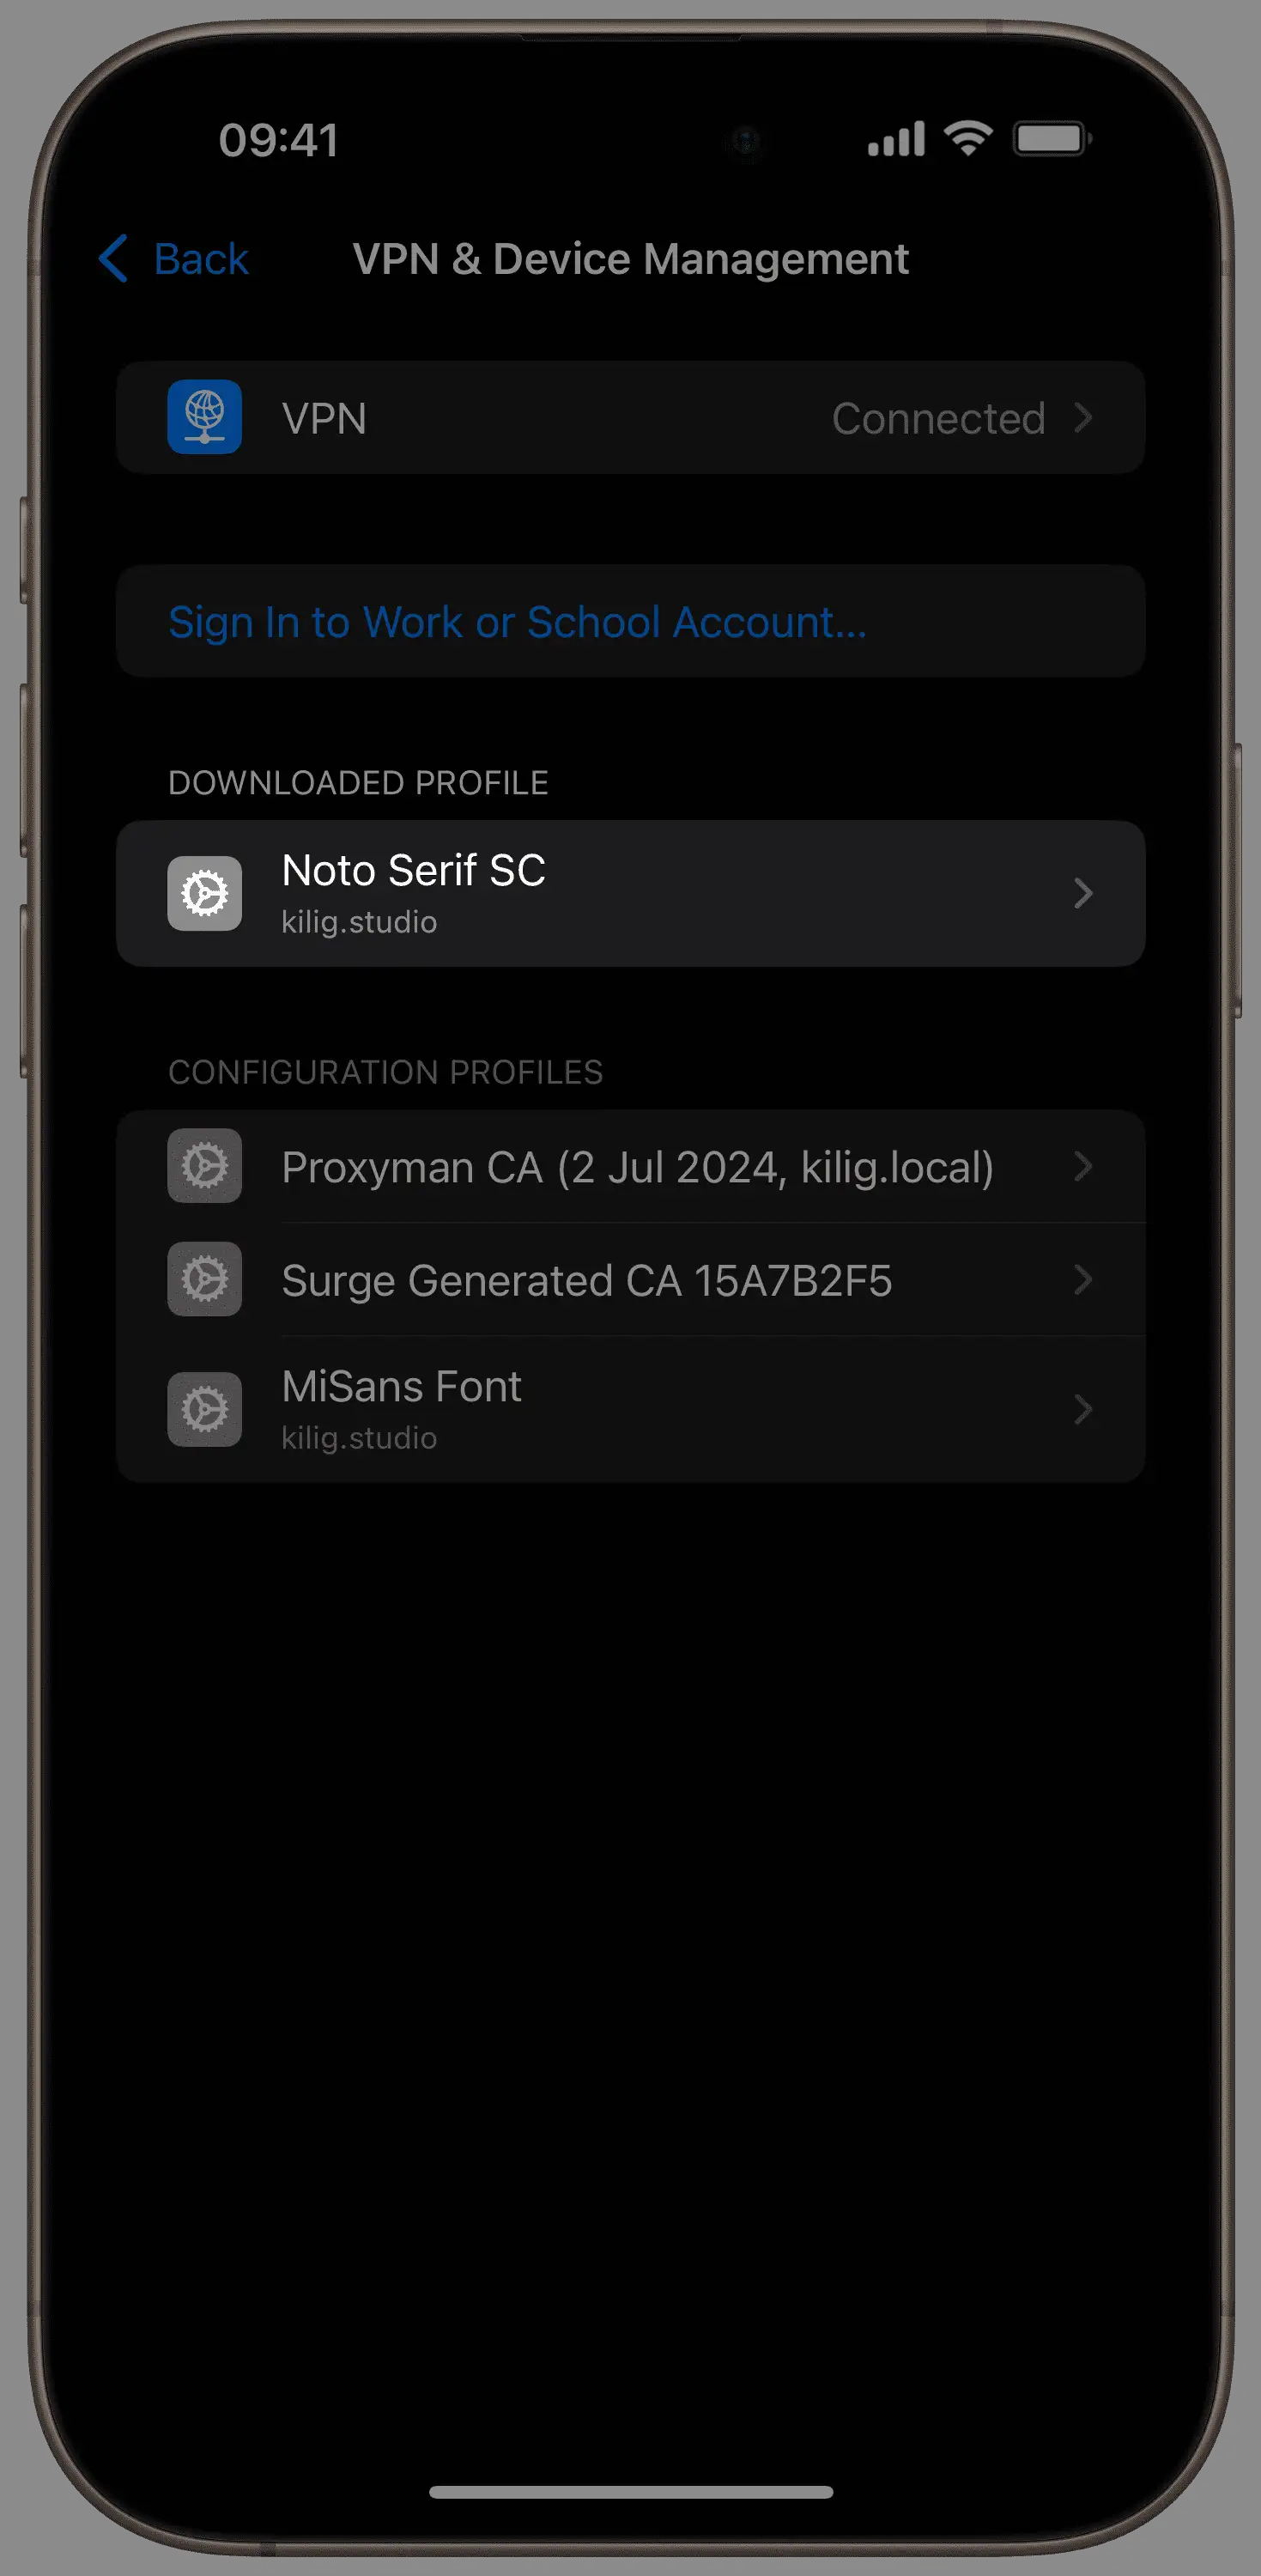
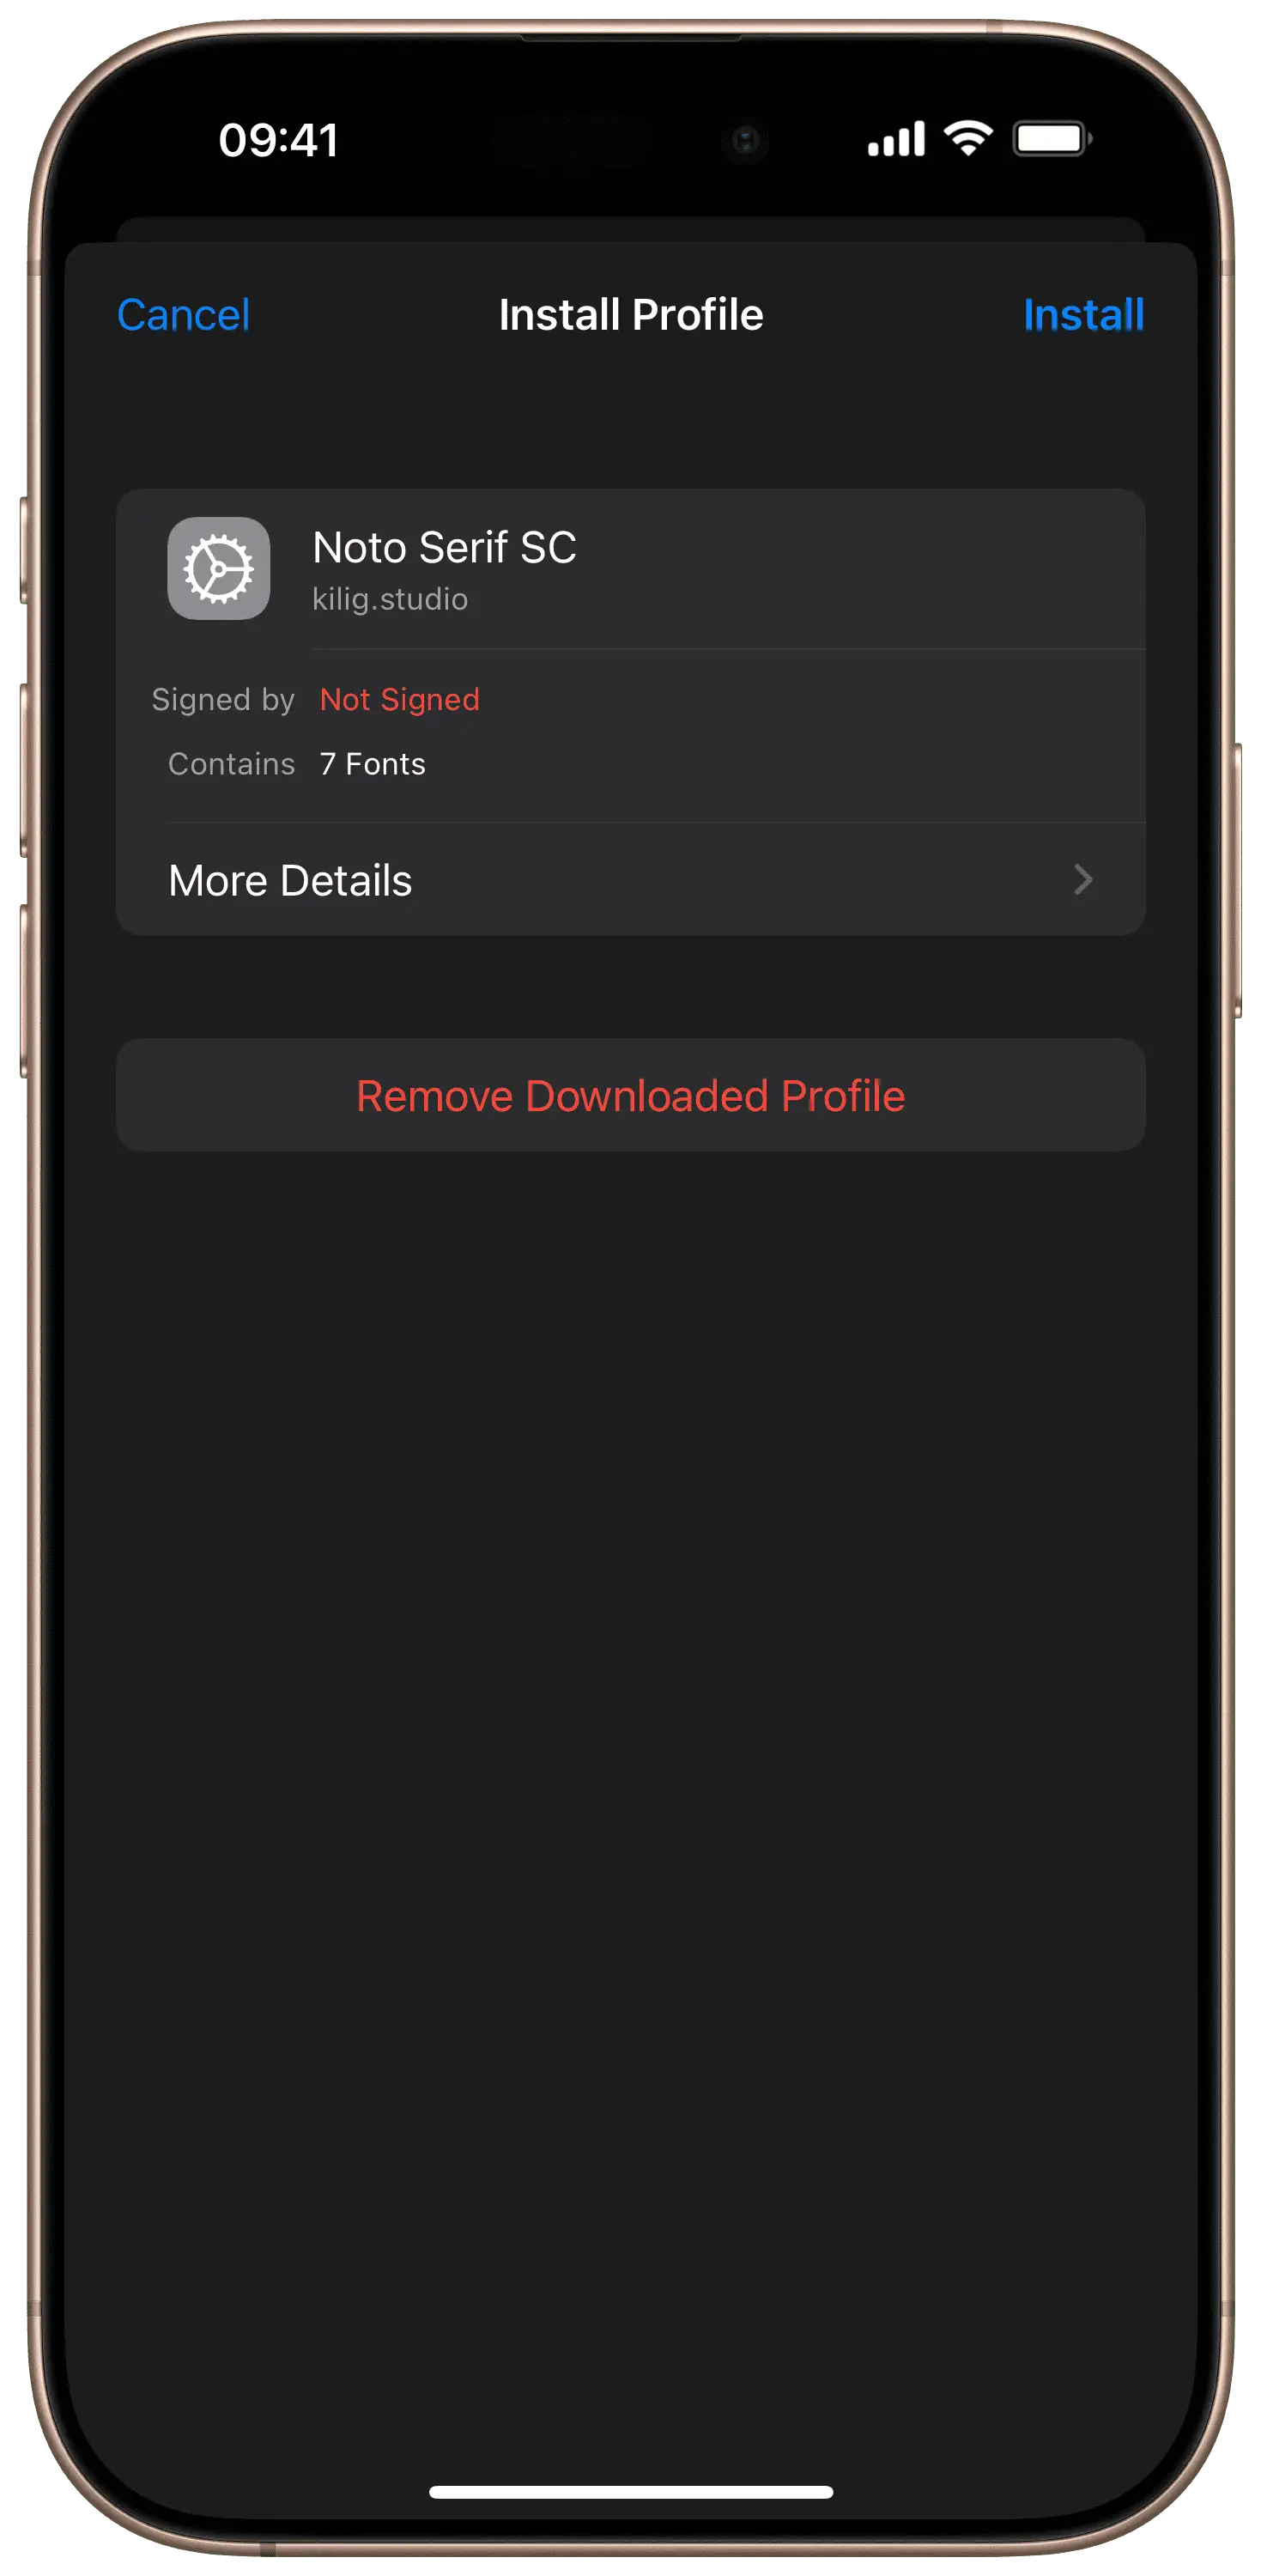
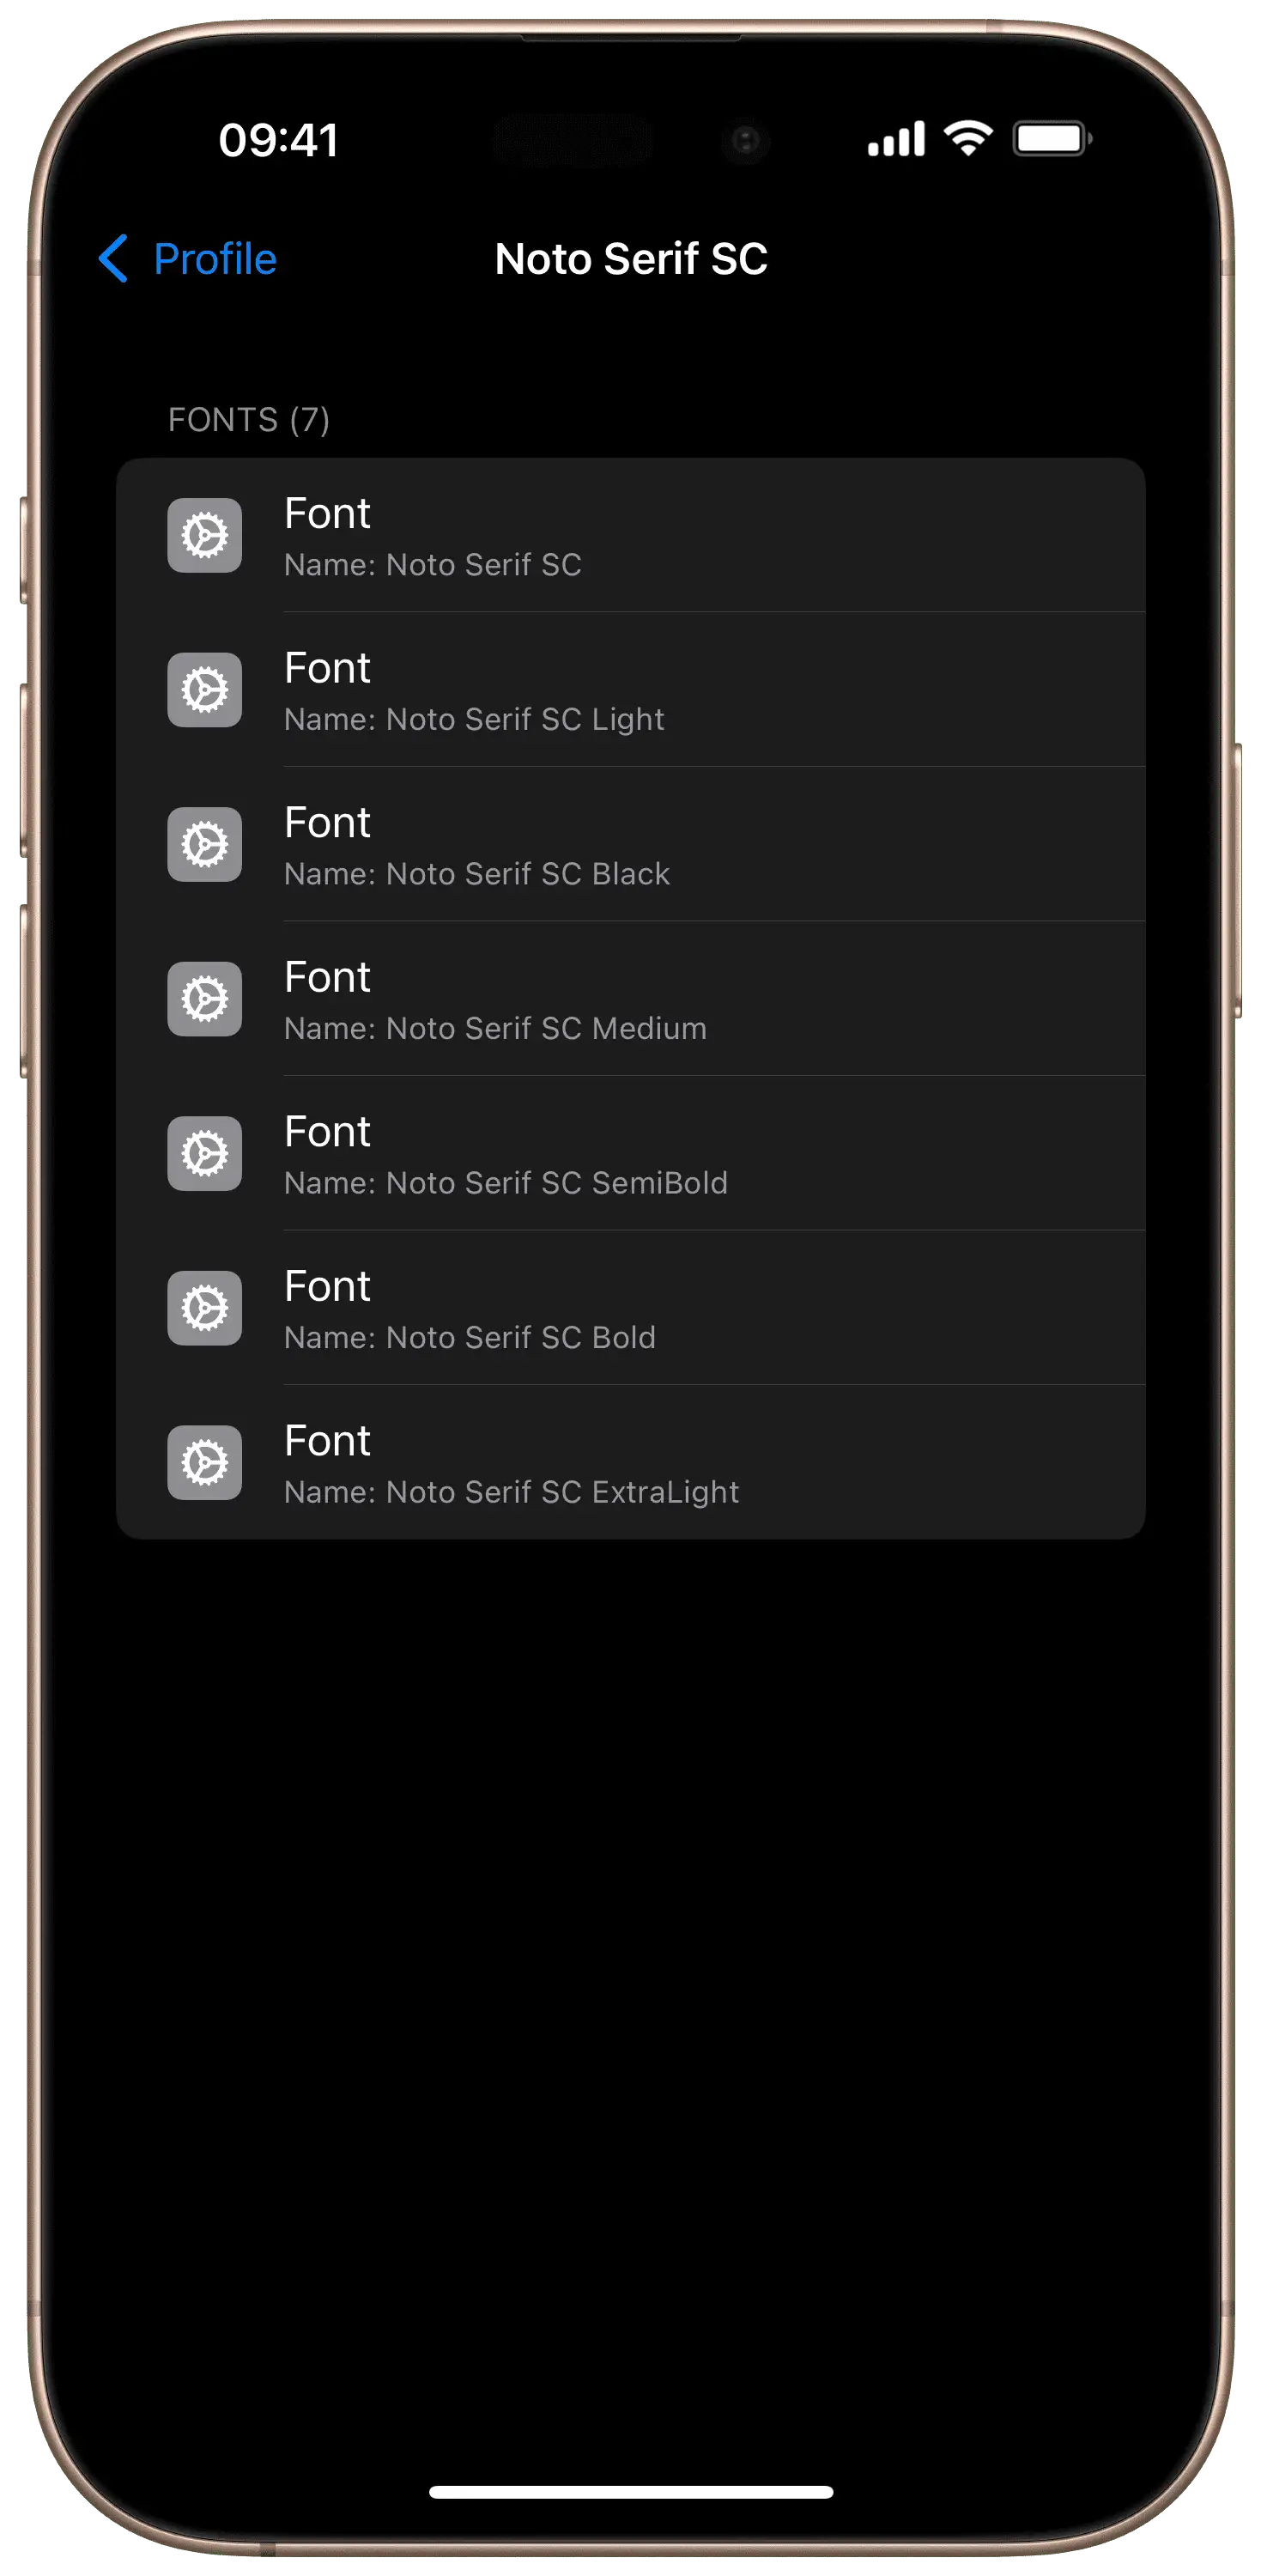
安装后,在描述文件的 More Details 里就能看到已安装的字体了,通过描述文件安装的字体,不会显示在 Settings -> General -> Fonts -> My Fonts 里面。
最后,在支持自定义字体的应用中,就可以使用已安装的字体了。(下图中的 App 是 Spring for Twitter)
